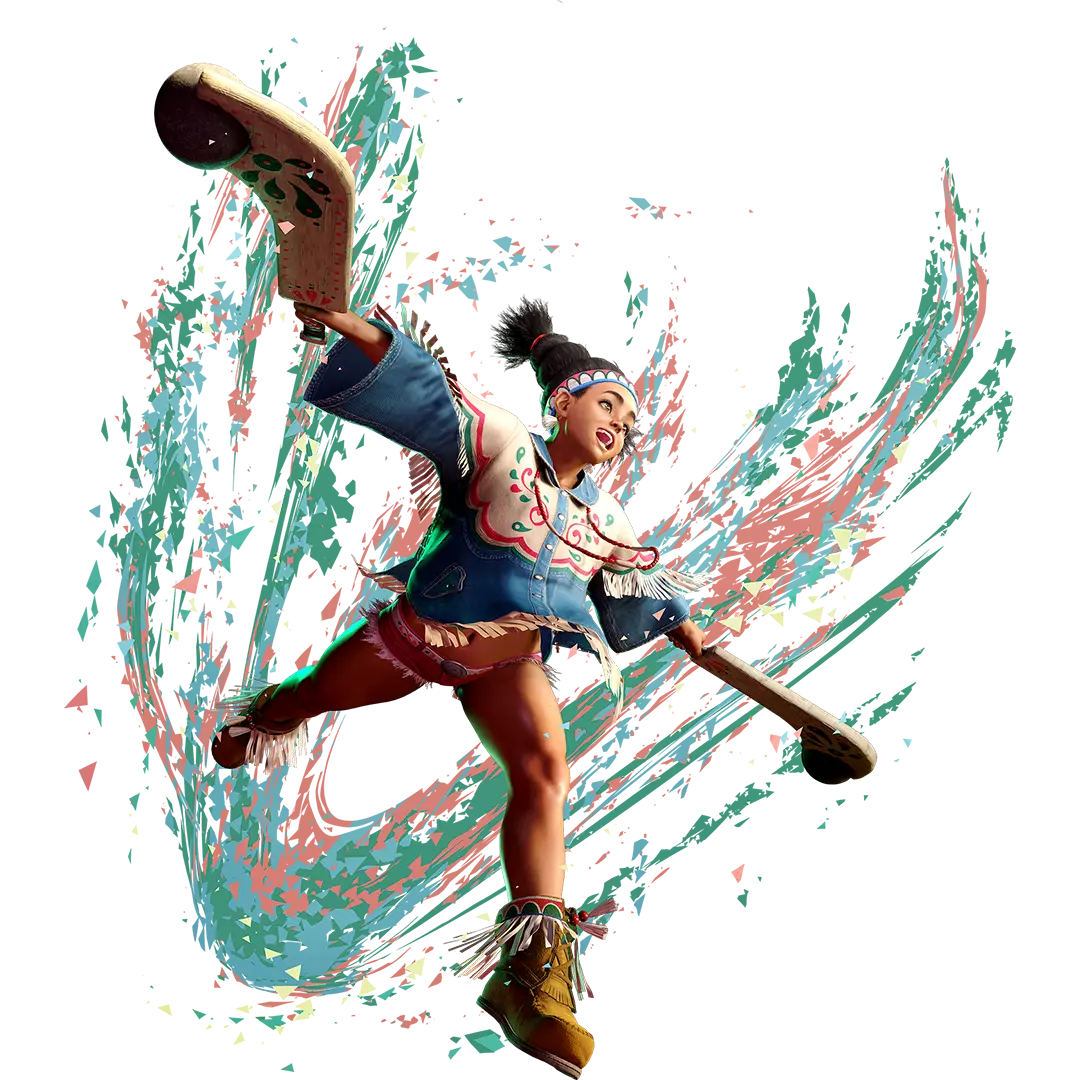


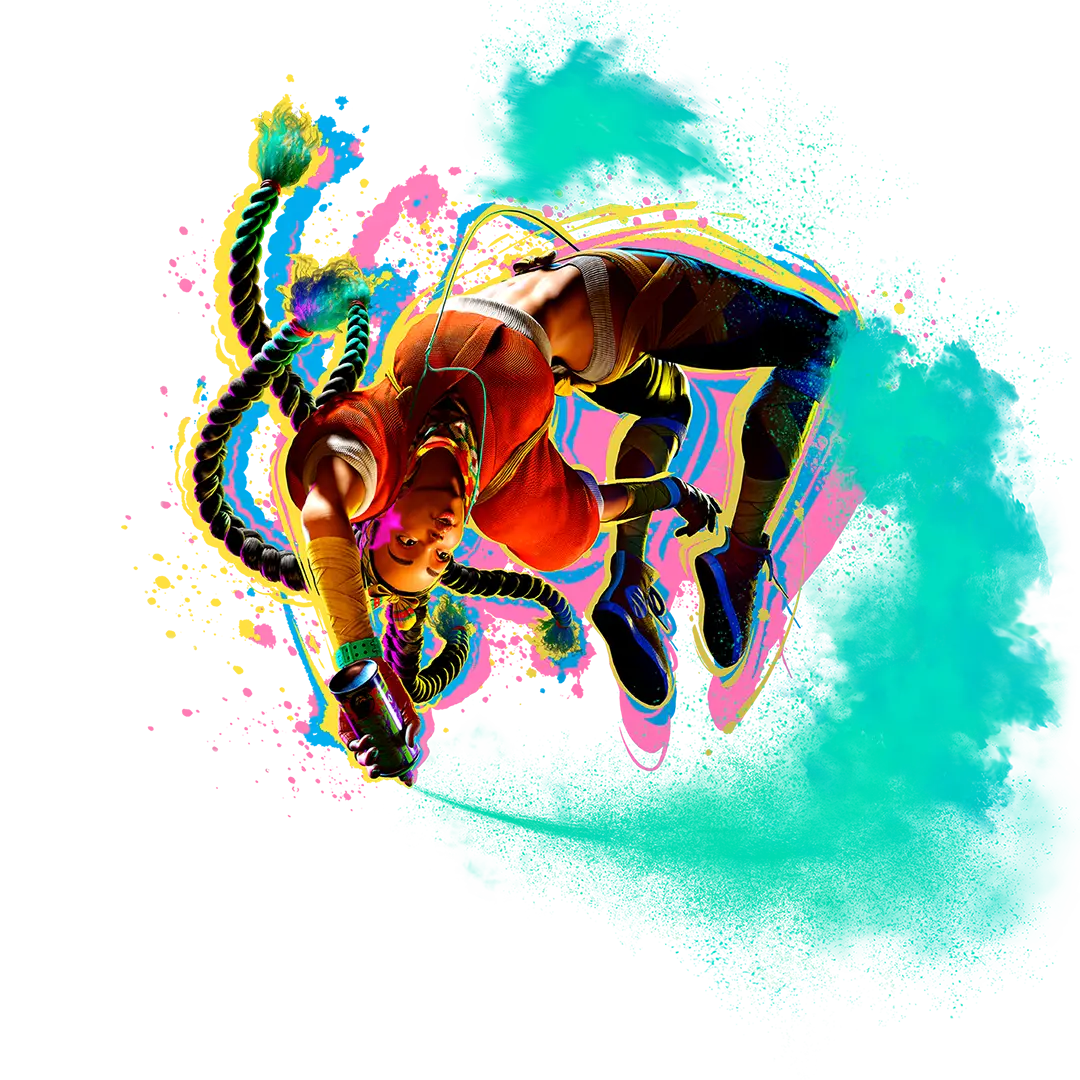

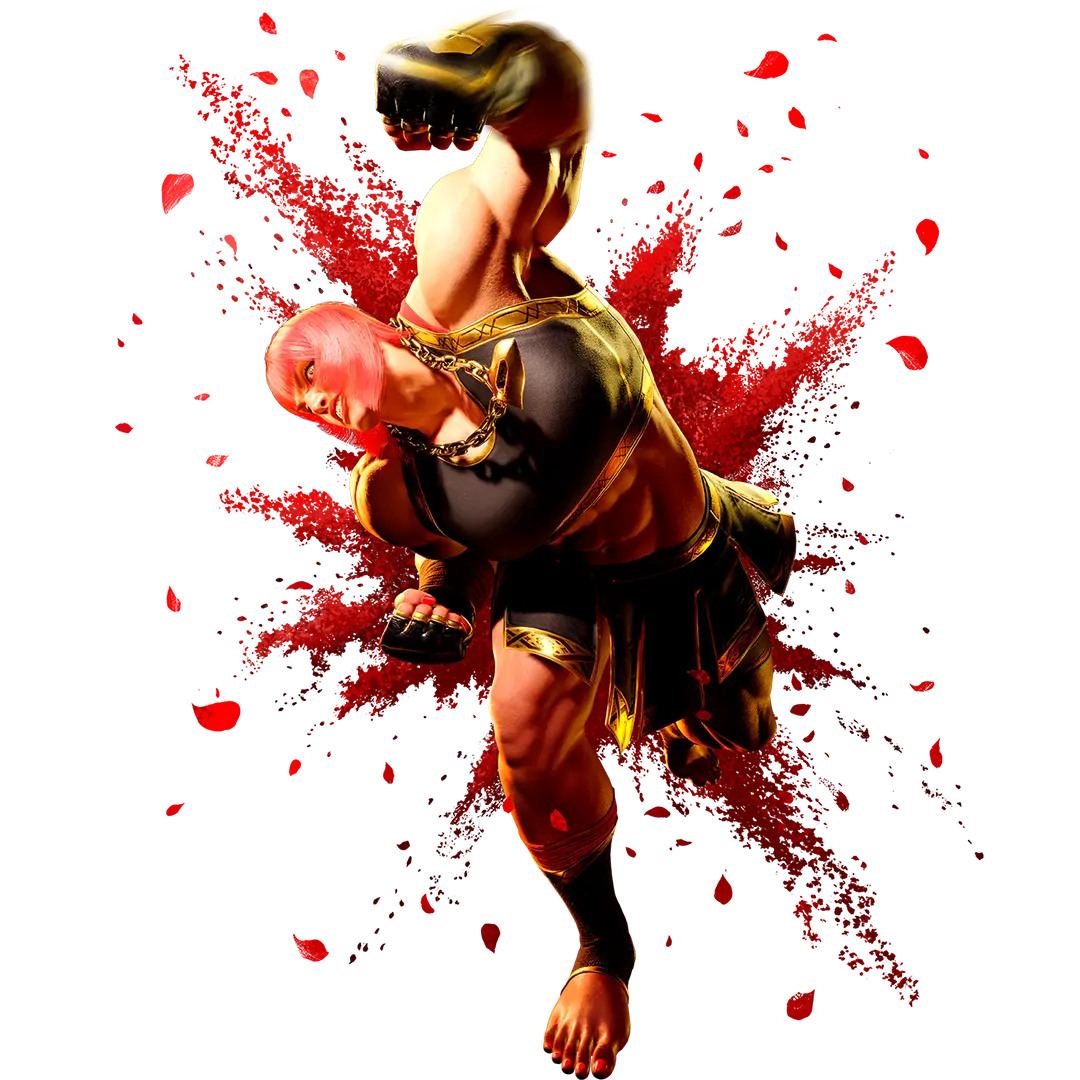
Basic Info: How to play Lily
With powerful throws and moves that make use of her trusty warclubs, Lily is not to be underestimated. She can enhance her special moves by enveloping herself in wind.
Use your warclubs to shut down your opponent's mobility, and then use a combination of forward-moving unique attacks and charging moves to make your approach.
After you've closed in, use your versatile array of normal kicks to create openings to break through an opponent's guard with devastating throws or aerial attacks.
Condor Wind powers up your special moves, creating new ways for you to open up opponents.
Special Move: Condor Wind (+)
Twirl your clubs above your head to summon and envelop yourself in wind. This will grant you one Windclad stock, which powers up certain special moves.
This move engulfs you with the power of the spirits, making you Windclad. Your body will be enveloped with wind, enhancing your other special moves. Try to use this whenever it looks like you have an opening.
If you use the light one, all you're doing is enveloping yourself with wind. But…
If you do it with medium or heavy, you envelop yourself with wind and then throw out an attack. A handy tool while dealing with those who try to prevent you from becoming Windclad, not to mention useful in combos.
Oh, and if you hold the button, you can become Windclad up to three times. Try to make it look like you're winding up for medium or heavy attacks, then surprise them by taking a second to charge instead.
(Overdrive)
Envelop yourself with wind and unleash a swift attack.
If you hold the button, you'll quickly envelop yourself with wind and can move immediately after, making it safe to use even when close to your opponent.
Special Move: Condor Spire (+)
Leap into the air and charge forward while remaining low to the ground. Useful as a way of approaching from a distance.
This move lets you close in on an opponent while attacking. It's super handy! You can try using it such that it doesn't quite hit your opponent, then throw them instead. Best to use it when you're just in range! It's safer that way.
If you use it while Windclad, you'll get to act first even if it gets blocked. That means you'll be able to keep your offense going, which needless to say, is pretty darn strong.
(Overdrive)
The move executes faster, and charges forward faster as well.
It doesn't leave you very vulnerable after, so it's pretty handy even if just for closing distance. Keep a close eye on how much space is between you and your opponent, and use it whenever you get the chance.
Also, if you use it when Windclad, it becomes invincible to an opponent's projectiles. Can you believe it? Just being Windclad sure puts the pressure on!
Special Move: Tomahawk Buster (+)
Use the momentum of swinging your arms to diagonally leap into the air with a tackle. It is invincible against jumping attacks, making it useful as an anti-air attack.
This move's great against jumping opponents, or in close-range combos. The strength of the button used affects its damage and how far away from the opponent you end up. The light one doesn't hurt much, but it's easy to keep your offense going after.
On the other hand, the heavy version does lots of damage, but it's tough to keep applying pressure after. The medium one kind of splits the difference. Each one has its uses! And they all do more damage when Windclad, by the way.
(Overdrive)
Use the Overdrive one and it'll become invincible to throws. Also, you'll be able to follow it up with an OD Condor Dive. It takes Drive Gauge to use, but it does a TON of damage. And it does even more damage if you're Windclad, so it's definitely a trick worth having in your back pocket.
Special Move: Condor Dive ( during a neutral or forward jump)
While airborne, diagonally descend with a powerful tackle. Useful for making surprise attacks from the air or as a way to counterattack someone after dodging a projectile.
This move's great for approaching an opponent or launching a surprise attack on them. That said, it
leaves you wide open if it gets blocked, so try to limit it to situations where you know it'll connect.
If all you want to do is approach, use it low so it falls short of your opponent. It does a lot of damage when you're Windclad, though, so try to land it when you can!
(Overdrive)
This one's harder for someone to deal with if they block it. The smartest way to use it is to just barely connect with an opponent's feet.
You have a lot of time where you're able to act freely after it lands, so you could take the opportunity to get Windclad using Condor Wind, or something along those lines.
Special Move: Mexican Typhoon (+)
Grab your opponent with both war clubs and smash them into the ground with a spinning slam. Useful for slipping through an opponent's guard at close range.
This is a throw created by Thunder Hawk, a warrior of our tribe. The amount of damage it does and how much reach it has depends on the strength of the button used.
The light version has long range, making it easiest to use. The heavy version does huge damage, so that's the one for breaking through someone's guard up close. And the medium version is...well, a happy medium.
(Overdrive)
The throw will snatch people from farther away, and it'll do more damage as well.
You'll find it's easiest to get people with this if you scout out moments when they're not expecting it, like after making them block an attack, or after jumping in at them.
Super Art: Breezing Hawk (+)
After the attack begins, you'll unleash a series of spinning attacks centered around your opponent. It is slow to come out, but it does lots of damage and is invincible at the start.
This move does lots of damage and has invincibility as well, making it a great tool for getting an opponent to back off. You'll be left wide open if it's blocked, though, so only use it if you're sure it'll hit, like in a combo from a normal move.
Super Art: Thunderbird (+)
Remaining in place, leap directly upwards while unleashing a series of spinning attacks. It executes quickly, making it useful as an anti-air attack or as a way to turn the tables while doing lots of damage.
This one executes really quickly, making it the perfect choice against opponents who jump at you. You can also use it as a follow-up against someone you've launched into the air. Make a point of trying to get this one while you're Windclad.
Super Art: Soaring Thunderbird (+ during a jump)
Thunderbird performed while airborne. It is primarily useful as a way to finish air combos.
This version of Thunderbird can be used to perform combos from aerial special moves—attacks like OD Condor Spire. Double Arrow, which is a jump attack that hits multiple times, is another good choice to combo into this from.
Super Art: Raging Typhoon (+)
A more powerful Mexican Typhoon in which you smash your opponent into the ground twice. Can be used to slip through an opponent's guard at close range and deal tons of damage all at once.
This is a mighty throw passed down by one of my tribe's greatest warriors. It might not have much range, but the damage it deals is no joke. It's invincible at the start, so time it to avoid an opponent's attack and grab them.
If you work it into a combo, you can deal even more damage, so try using it to follow up on an opponent you've just hit with a special move that knocks your opponent back.
Strategy: Fundamentals 1
The warrior who taught me how to fight was really, really big. Since I'm on the smaller side I wasn't able to imitate what he showed me exactly, so I brought war clubs into the mix and learned that way. That's what I'll show you how to do.
To start things off, don't be shy about using medium attacks. Standing and crouching medium punch pack a...well, punch, especially if you try to put yourself at a distance where you'll just barely hit someone with the tip of the clubs. Next, use heavy attacks to lock down your opponent and halt their attacks. Standing and crouching heavy punch can both be canceled into special moves, so try using Condor Spire or Condor Wind after them to control the pace of the fight.
Strategy: Fundamentals 2
If you do a good job of keeping someone locked down with your clubs, they'll start trying to avoid them by jumping in place… or straight at you. Use anti-air attacks to stop them as best you can, and then look for opportunities to go on the offense.
Tomahawk Buster is the best choice for taking down jumping opponents, but the very beginning of crouching heavy punch will work in a pinch. And if you're predicting they'll jump, you can get them with Double Arrow ( during a jump) and then a follow-up after.
It's unrealistic to expect that you'll knock somebody out of the air every single time they jump, so like it or not, there will be times where someone gets in and starts applying pressure on you.
In times like those, you can use OD Tomahawk Buster to beat an opponent's throw. Or, if you're okay with using some meter, Breezing Hawk and Thunderbird have invincibility, making them perfect tools for turning the tables on someone.
But if your opponent sees it coming and decides to block, they're going to put you in a world of hurt afterward. Think carefully before making your move.
Strategy: Advanced 1
Next, let's cover how you should go about mounting an offense. If you're smart about using your techniques that move you forward, you should be able to close in on your opponent. When you see your opening, go for the throw.
Use your war clubs to poke at your opponent and lock down their mobility, then use Condor Spire at distances where it'll just barely connect to make your approach. That's the basics of how we dive into the action.
Using the first hit of Desert Storm (+,,) is another neat option. Stop it at the first hit if it gets blocked, or go for the rest if it connects. When your opponent sees you throwing out moves like these, they're sure to tighten up their guard.
And when they do, close in with a Condor Spire or a dash and throw them! Once you're up close, break through their guard by doing light attacks into combos, or by grabbing them with a Mexican Typhoon.
Strategy: Advanced 2
You should stand a decent chance once you've memorized the basics, but you'll have a lot more options to work with if you borrow the power of the spirits. Learn how to harness the wind, and watch your options unfold.
You can make yourself Windclad using Condor Wind, which you'll want to use when far away from your opponent or after knocking them down. The medium and heavy versions end with an attack, so you can charge wind safely if you use them in combos.
And once you've got the wind at your back, use Condor Spire to carry you toward your opponent. If you're Windclad, you'll be able to act first even if your Condor Spire is blocked.
If it hits, you'll knock them down, meaning you'll have another chance to stock up on wind. Anyway, what I'm trying to say is: Condor Spire is really strong. Use it a whole lot.
If you have at least two Windclad stocks, you can do an Overdrive Condor Spire into Tomahawk Buster for some serious damage.