Basic Info: How to play Luke
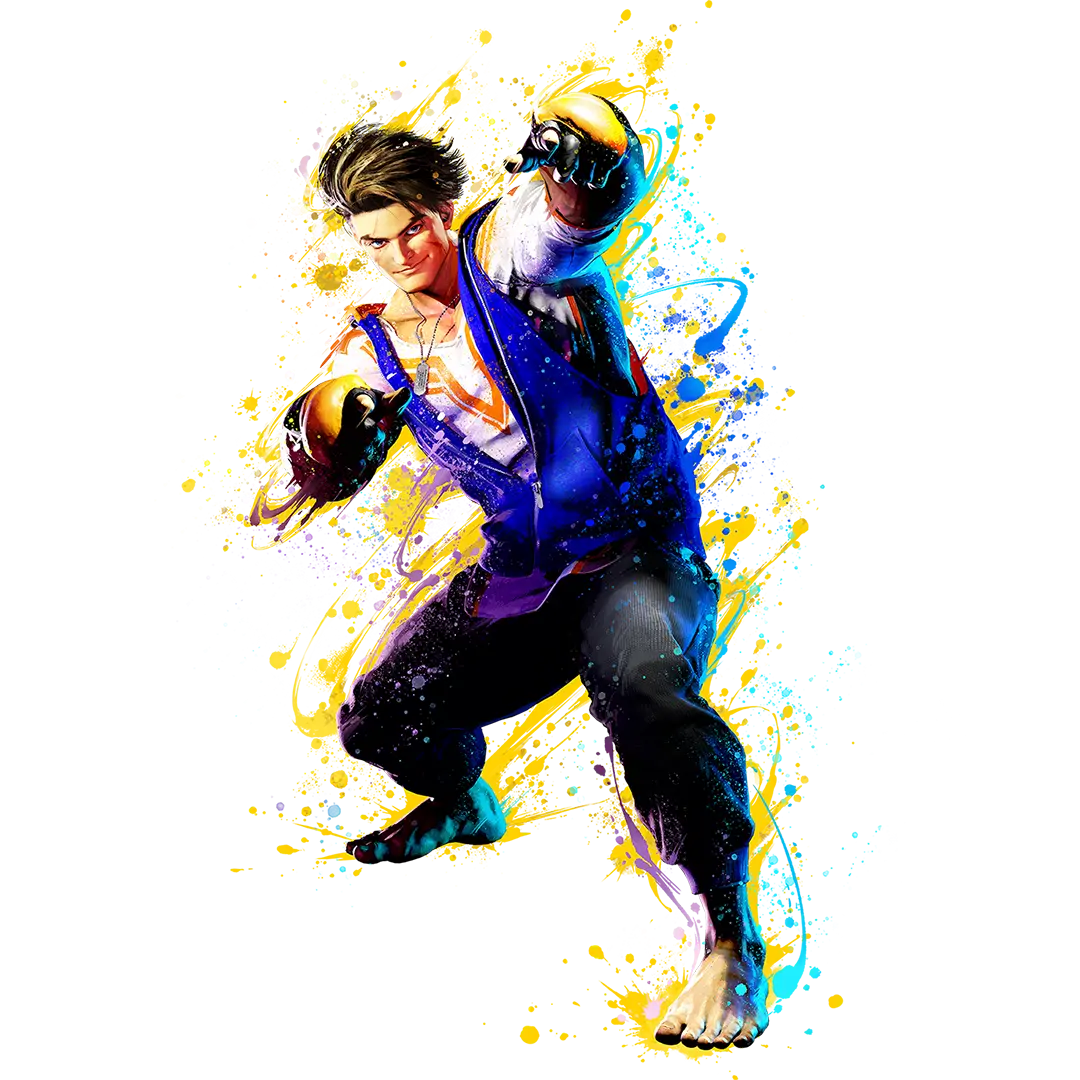
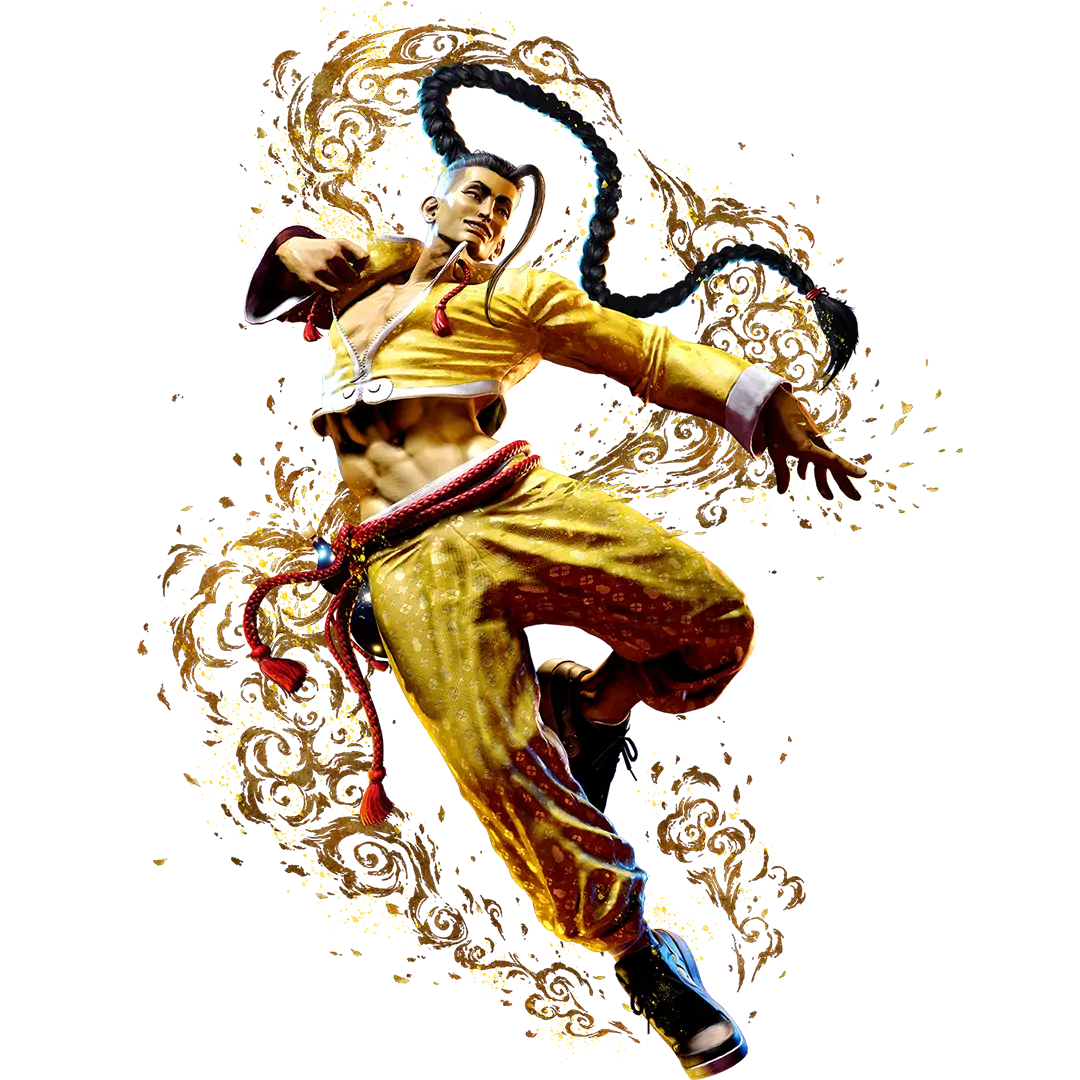
Boasting an array of standard moves complemented by techniques that shine when used offensively, Luke is well-rounded, but particularly adept at close-range combat.
With projectiles, anti-air attacks, and more, Luke can adapt to any situation he finds himself in.
Many of his moves propel him forward, allowing for some serious combo potential on opponents who leave themselves open.
From applying pressure to tacking on damage in combos, Flash Knuckle has a wide variety of applications.
Special Move: Sand Blast (+)
Fire a shockwave of pressure from your fist. Useful for checking an opponent from a distance, and as a stopgap in combos.
The strength of the button used changes the speed of its execution and its range. Light Sand Blast comes out fast, making it ideal for combos from normal moves. Medium has long range, and heavy's perfect for locking people down.
(Overdrive)
The OD version of this bad boy gives it more range, and makes it stronger to boot. And to top it all off, if you tack on another input at the end… You can fire off one last blast: the Fatal Shot! It's equal parts useful and badass, but be careful you don't burn through your Drive Gauge.
Special Move: Flash Knuckle (+)
A full powered, chargeable punch. Increase the damage output by holding down the button at the beginning. Release the button when you see a flash to further boost its properties.
In short, this one's mostly for combos. The light version combos from light attacks, and the medium one from medium and heavy attacks. The heavy version, meanwhile, is good for landing an extra hit on juggled opponents or as a way to close out combos.
So, cool thing about Flash Knuckle is that you can charge it by holding the button. A charged Flash Knuckle hits the enemy a little different.
(Overdrive)
Super fast, and launches your opponent into the air if it hits. To make the most of it, you'll want to try canceling into it from a move with long reach, like a crouching medium kick.
If you input another command when the first hit connects, you can cash in some Drive Gauge to grab your opponent and nail 'em with a DDT. If you feel like bailing on a combo in favor of some quick damage, this's the way to go.
Special Move: Aerial Flash Knuckle (+ during a neutral or forward jump)
A Flash Knuckle performed while jumping. Can be used to alter the trajectory of your jump, making it useful for surprise attacks. Can also be worked into aerial combos.
This here's a nasty jump attack that not many moves can beat in terms of reach. If you can land it, it'll send your opponent flying and leave them flat on their back.
And if you hold the button when you're doing the move, it'll change what it does, making for a heck of a surprise attack.
(Overdrive)
This'll make the move the same as if you held the button, but you can do it immediately. It also increases its power, making it perfect for those times you want to secure some damage.
Special Move: Avenger (+)
Charge ahead in a forward-leaning stance. Other moves can be executed out of Avenger by pressing a button during its animation.
This here's called Avenger, and from it you can do either a No Chaser () tackle, or an Impaler () flip kick.
You can use the tackle to close the distance between you and your opponent…
And Impaler can be used to break the guard of an opponent who's blocking while crouched. If you find yourself in a situation where you think it might be useful, give it a try.
(Overdrive)
The Overdrive version of Avenger absorbs opponents' attacks. This effect, known as armor, lets you do stuff like tank an opponent's hit, and then… BAM! Slam 'em with a follow-up attack!
Special Move: Rising Uppercut (+)
Unleash a ferocious punch as you leap diagonally upwards. It grants immunity to jumping attacks, making it useful as an anti-air technique.
If you're looking for an anti-air attack, the light or medium versions are the easiest to use. Once you get a handle on it, try kicking it up a notch with a heavy Rising Uppercut instead— it does some wicked damage.
(Overdrive)
If you bust out the Overdrive version, the move is invincible the entire time. If you're getting rocked by some serious pressure, this fella's here to help you turn the tables.
If you press two punch buttons once you're up in the air, you can follow up with a Slam Dunk that'll smack your opponent to the ground. It takes Drive Gauge to use, but WOOF, talk about some hurt!
Super Art: Vulcan Blast (+)
Fire multiple high-speed Sand Blasts. Its swift speed makes it useful in projectile wars and in combos.
This's useful for piling extra damage on an opponent you've sent flying. Try pulling one off after you've got some poor fool in the air after a move that launches the opponent, like an OD Flash Knuckle.
Special Move: Eraser (+)
A series of punches punctuated by a powerful finishing blow that sends an opponent flying. Connecting with the first hit is enough to activate the combination attack that follows.
This here's a quick one that's perfect for turning the tables at close range. You can also use it as a follow-up attack on opponents you've sent flying at the corner of the stage.
Special Move: Pale Rider (+)
Charge and mount the opponent before unloading a flurry of powerful punches. It has long forward range, making it useful in combos, or as a way to deal with projectiles.
Transition from normal attacks into special moves and you'll end up with a heck of a combo. And a big combo means big damage. You can cancel from special moves into this super art, so let that combo soar!
But you can also use it to slip through an opponent's projectile and land an attack on them, or as a trump card in close-quarters situations. You'll wanna spend some time practicing this one so you can bust it out with confidence when the situation calls for it.
Strategy: Fundamentals 1
First, let's cover the basics of what you should be doing when you and your opponent are at around roughly starting position distance. You'd mainly want to keep them in check with Sand Blasts…
And when they've had enough and decide to jump at you, smack 'em hard with a Rising Uppercut! Once you get the hang of it, you should have a much easier time dictating the flow of a match.
Next, let's say we're a little bit closer… The perfect distance for some medium kicks, if you ask me. Standing or crouching, you can't go wrong with either! If you see a crouching medium kick make contact, immediately toss out a Sand Blast! That'll show 'em.
Strategy: Fundamentals 2
Once you've managed to lock your opponent down some and their movement has started to stiffen up, it's time to get aggressive. Standing heavy punch moves you forward, making it perfect for attacking while also closing distance.
Standing light punch recovers quickly, leaving you less open to counterattack. Standing medium punch has long reach, ideal for closing in on an opponent. Standing heavy punch is cancelable, making it easy to whip out special moves.
Keep those differences in mind when thinking about how best to make use of 'em.
Strategy: Fundamentals 3
If you've got the Drive Gauge for it, you could always close in on your opponent with a Drive Rush. If you do, standing heavy kick and crouching medium punch are len strong when done out of Drive Rushes.
Standing heavy kick's good because it lets you quickly close the gap with an opponent, and doesn't leave you open to getting counterattacked if it's blocked. Sweet deal, right?
Crouching medium punch may not reach as far, but it makes up for it by leaving you at an advantage
whether it hits or gets blocked. Try using it to open up your opponent so you can land combos.
Strategy: Advanced 1
One little thing you gotta keep in mind about Flash Knuckle: if you hold the button for juuust long enough before releasing it, it'll do more damage and hit more times.
For a light Flash Knuckle, it'll launch someone higher into the air, opening the door to follow-up attacks
that wouldn't have been possible otherwise.
The medium one executes faster, making it easier to connect into from normal moves.
The heavy one leaves you at an advantage, even if it gets blocked. It takes some getting the hang of, but if you do? Hoo boy, does it pay off. I guarantee it!
