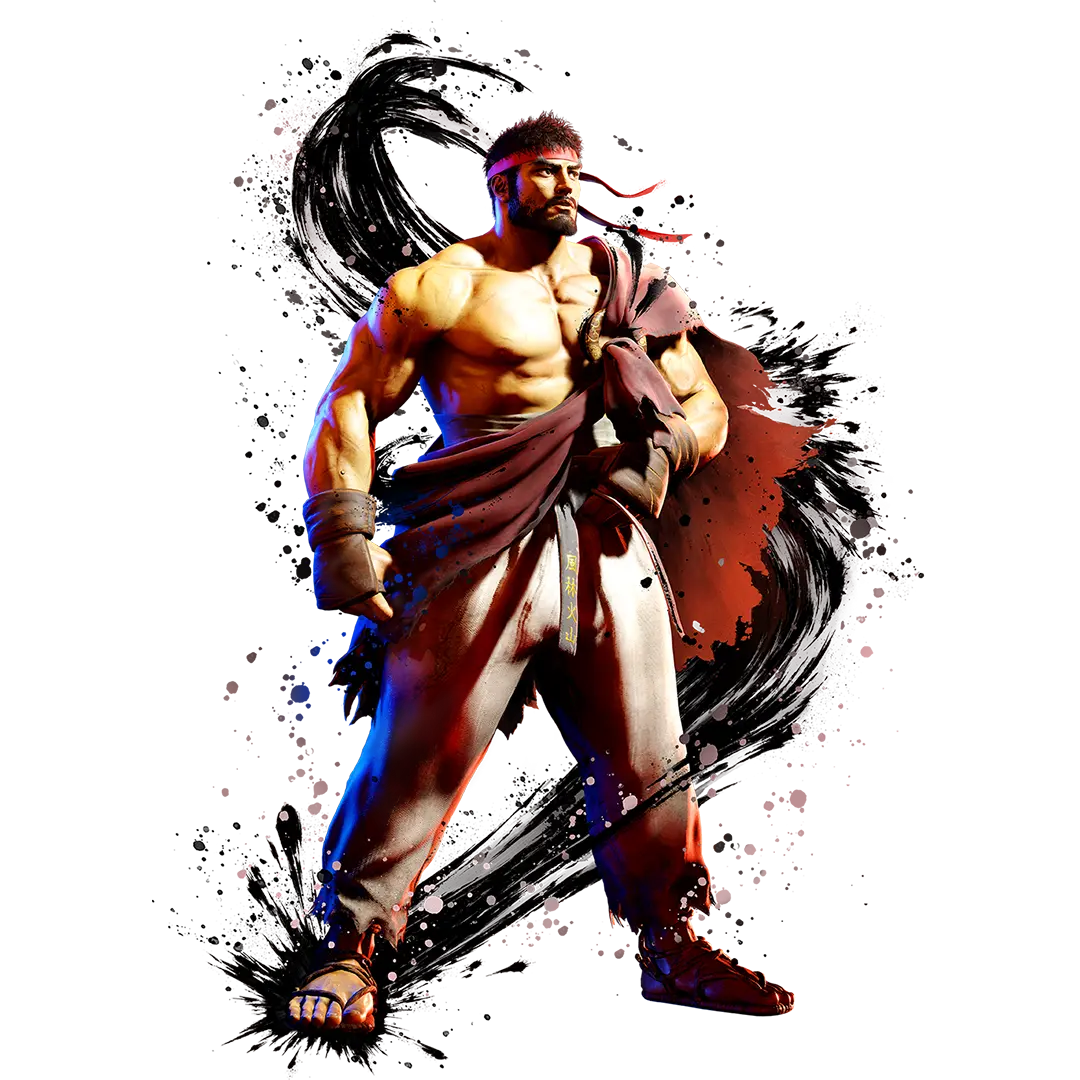


Basic Info: How to play Ryu
With a set of familiar, intuitive moves that facilitate a consistent playstyle, Ryu is an excellent choice for everyone from beginners to experts.
Ryu has a wide variety of special moves of differing properties, from projectiles, to anti-airs, to moves that carry him forward, giving him a solid balance of both offense and defense.
In addition to employing strategies that involve executing moves at mid-range, observing how your opponent reacts, and punishing accordingly, he can also perform powerful combos upon successfully jumping in on an opponent.
Hadoken is a powerful projectile that is effective at checking opponents along a horizontal plane.
Special Move: Hadoken (+)
Fire a ki blast directly forward. Useful for attacking opponents at range.
The projectile's speed depends on the strength of the punch used. Mix up both the distance and speed of your fireballs to make it more difficult for your opponent to get a handle on the timing.
(Overdrive)
An Overdrive Hadoken is faster, hits multiple times, and inflicts more damage. It doesn't leave you overly vulnerable afterward, making it useful when trying to dictate the pace of the battle.
Special Move: Shoryuken (+)
Leap into the air and perform a powerful uppercut. A Shoryuken is invincible to an opponent's jumping attacks, making it a great anti-air tool.
Use your medium Shoryuken and get a feel for its reach. Focus first and foremost on getting to the point where you can knock your opponent out of the air consistently.
(Overdrive)
In addition to invincibility from aerial attacks, an Overdrive Shoryuken is also invincible to grounded attacks. It's useful for turning the tables on aggressive opponents at close range.
Special Move: Tatsumaki Senpu-kyaku (+)
Unleash a series of roundhouse kicks while moving forward. A useful attack for knocking opponents away.
The medium version of this attack sends an opponent flying back, while the heavy version can be used to switch places with them. Use this to your advantage in combos to effectively corner your opponents.
(Overdrive)
Sends an opponent flying even farther. Use it to trap your foe at the corner of the stage, and then follow up with a Shoryuken.
Special Move: Aerial Tatsumaki Senpu-kyaku (+ during a forward jump)
A Tatsumaki Senpu-kyaku performed while airborne. Useful for altering the trajectory of your jump, or for staging a surprise attack from above.
This attack can also hit an opponent who is behind you. If your aim is true, it can be used to mount a surprise rear attack on opponents you leap over.
(Overdrive)
Rotate in place, performing multiple attacks in a row. Can be used to create very powerful combos if performed by canceling into it from a Whirlwind Kick.
Special Move: High Blade Kick (+)
A thrust kick that quickly closes distance, and can be used to surprise an opponent between their attacks. Strike with the tip of the foot for maximum effectiveness.
The stronger the button used, the farther you move forward during its execution and the less you leave yourself open should it be blocked.
(Overdrive)
A powerful kick that sends your opponent flying to the wall. When the opponent bounces off the wall and rebounds toward you, they're wide open for a Shoryuken.
Special Move: Hashogeki (+)
Concentrate ki in the palm and unleash it directly forward. Useful as a follow-up after blocks and combos.
If this move connects as a counter hit, it will send an opponent flying back. If you manage to launch an opponent with it, you can land another hit with a Tatsumaki Senpu-kyaku.
(Overdrive)
A swift attack that allows you to move before your opponent can, even if it's blocked.
Special Move: Denjin Charge (+)
Envelop your fists with the Power of Nothingness, enhancing moves such as the Hadoken and Hashogeki. Leaves you wide open, making the timing of its usage critical.
Increases the speed, damage, and number of hits done by a Hadoken. The Overdrive version further amplifies its power in all respects.
It increases Hashogeki's lunge distance, and sends the opponent flying. This move will no longer differ depending on button strength, but you won't be left open if it's blocked. The OD version can be used to create combo opportunities.
Super Art: Shinku Hadoken (+)
A Hadoken in which the body's ki is concentrated and condensed into your palms before firing. Its swift speed and invulnerability can quickly turn the tables on an opponent.
For example, let's say you landed an OD Tatsumaki Senpu-kyaku near the corner of the stage. If you send your opponent high into the air, you could follow up with a Shinku Hadoken.
Super Art: Shin Hashogeki (+)
A Hashogeki enhanced through spiritual focus. Hold the button to charge the attack and increase its power.
Use this when you're sure it'll make a combo. It's also useful when canceled into from an Overdrive Hashogeki.
Super Art: Shin Shoryuken (+)
A powerful Shoryuken unleashed at short range. An overwhelming technique that aims for an opponent's vitals.
This is best used when worked into attack sequences, such as when canceling out of a special move like a Hadoken. It will leave you wide open if blocked or when done too far away from your opponent, so only use it if you're sure it'll connect.
Strategy: Fundamentals 1
The first thing you'll want to learn is attack sequences revolving around your crouching medium kick. Get yourself in a spot where you can connect with the very tip of your foot, and when it hits, immediately follow up with a medium Hadoken for a basic combo.
But unless you remember to mix it up, your opponent will get wise and counter with a Drive Impact. To deal with this, try using an OD Hadoken after your crouching medium kick, or firing back with a Drive Impact of your own.
Strategy: Fundamentals 2
If you're looking to close the distance at mid-range, try a Solar Plexus Strike (+). Even if it's blocked, you'll be able to move before your opponent can, making it a great tool for creating offensive opportunities.
When a Solar Plexus Strike hits, you can follow up with normal moves to create combos. You could do a crouching medium punch into a Tatsumaki Senpu-kyaku, or use some of your Drive Gauge to perform an OD High Blade Kick instead.
Strategy: Fundamentals 3
The Whirlwind Kick (+) is a useful move when fighting at mid-range, but it can also be used to avoid an opponent's sweeps. If you see an opponent throw out a sweep after you've done a Whirlwind Kick, transition into an OD Aerial Tatsumaki Senpu-kyaku without a moment's hesitation. The combo will do a lot of damage and leave you in an advantageous position.
Strategy: Fundamentals 4
The Collarbone Breaker (+) is what's called an overhead attack. It can be used to slip through the guard of opponents who are blocking while crouched, but there is a way to make it even more effective.
Use a Drive Rush. If you transition from a Drive Rush into Collarbone Breaker, it will be strengthened... and after it connects, you can continue your assault with a crouching medium punch. You'll be able to move before your opponent can, even if blocked. Its damage is increased, and you'll have an easier time pressing your offense.
What's more, Drive Rush itself causes you to move forward, increasing its reach. It can be used to create openings in your opponent's defenses, even if there's some distance between you.